Wireframing is often described as the blueprint of digital product design. It gives shape to ideas, defines structure, and lays the foundation for the user experience before visual design and development come into play. A good wireframe helps teams align on functionality and flow without being distracted by colors, fonts, or visuals too early.
Mastering wireframing is not just about drawing boxes on a screen. It’s about understanding your users, mapping their journeys, and creating a structure that feels natural and intuitive. When done right, wireframing saves time, reduces rework, and brings clarity to the design process. If you’re new to the concept of digital product design, our blog on “What Is Digital Product Design? Definition, Process, and Benefits” will give you a clear foundation before getting into wireframing.
In this blog, we’ll walk through six practical steps that will help you master wireframing and design products that are both functional and delightful for your users.
Step #1: Define the Purpose and Goals
Every great wireframe starts with clarity. Before you sketch or open a design tool, make sure you know what you’re building and why. Define the product’s main purpose and the problems it’s solving for users. This step ensures you’re not just creating screens but designing with intent.
Think about your target audience and their pain points. What tasks should your product help them complete? What frustrations should it remove? Answering these questions upfront sets the direction for your wireframe.
When your goals are clear, your design decisions become more focused. This alignment helps you avoid unnecessary features and ensures every element on the wireframe adds value to the user journey.
Step #2: Research and Gather Requirements
Wireframing without research is like drawing blindfolded. Spend time collecting insights from user interviews, surveys, or analytics. Look into competitors’ products to understand industry standards and areas where you can do better.
Involving stakeholders early is equally important. Their input ensures your wireframe reflects not only user needs but also business priorities and technical constraints. This collaboration creates a solid foundation to build upon.
Once you have your research, translate it into requirements. These requirements will guide what features, elements, and interactions should appear in your wireframe, keeping your design both practical and user-focused.
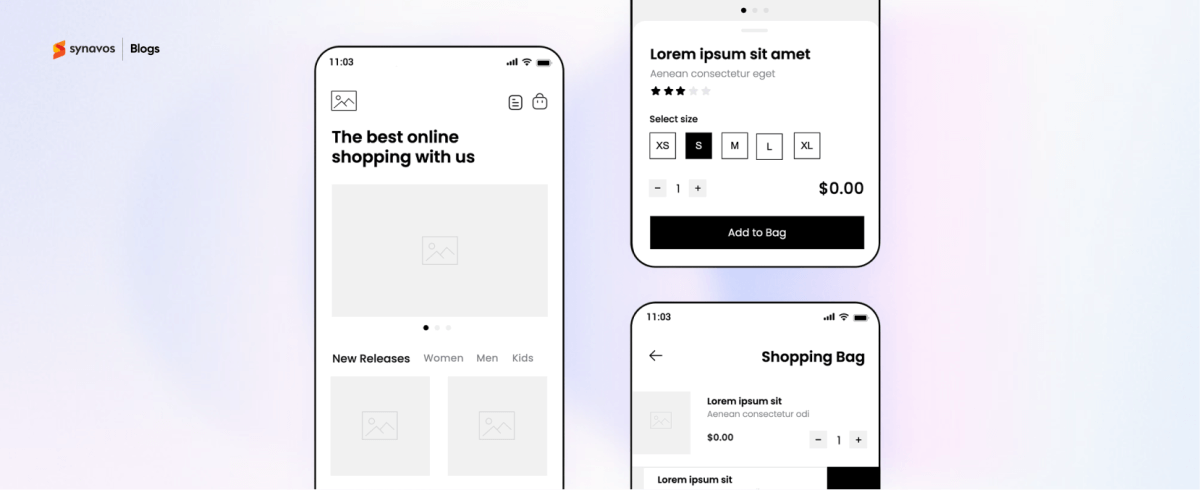
Step #3: Sketch Basic Layouts
Start simple. Use pen and paper or a whiteboard to sketch your ideas. At this stage, you’re not worried about colors or details — just structure. Focus on placing key elements like navigation menus, buttons, content blocks, and forms.
Quick sketches give you freedom to explore multiple ideas without much effort. You can experiment, erase, or redraw as many times as you need until you find layouts that feel right.
These low-fidelity sketches also make it easy to share concepts with teammates or stakeholders early on. Their feedback can help you refine direction before you commit to more polished designs.
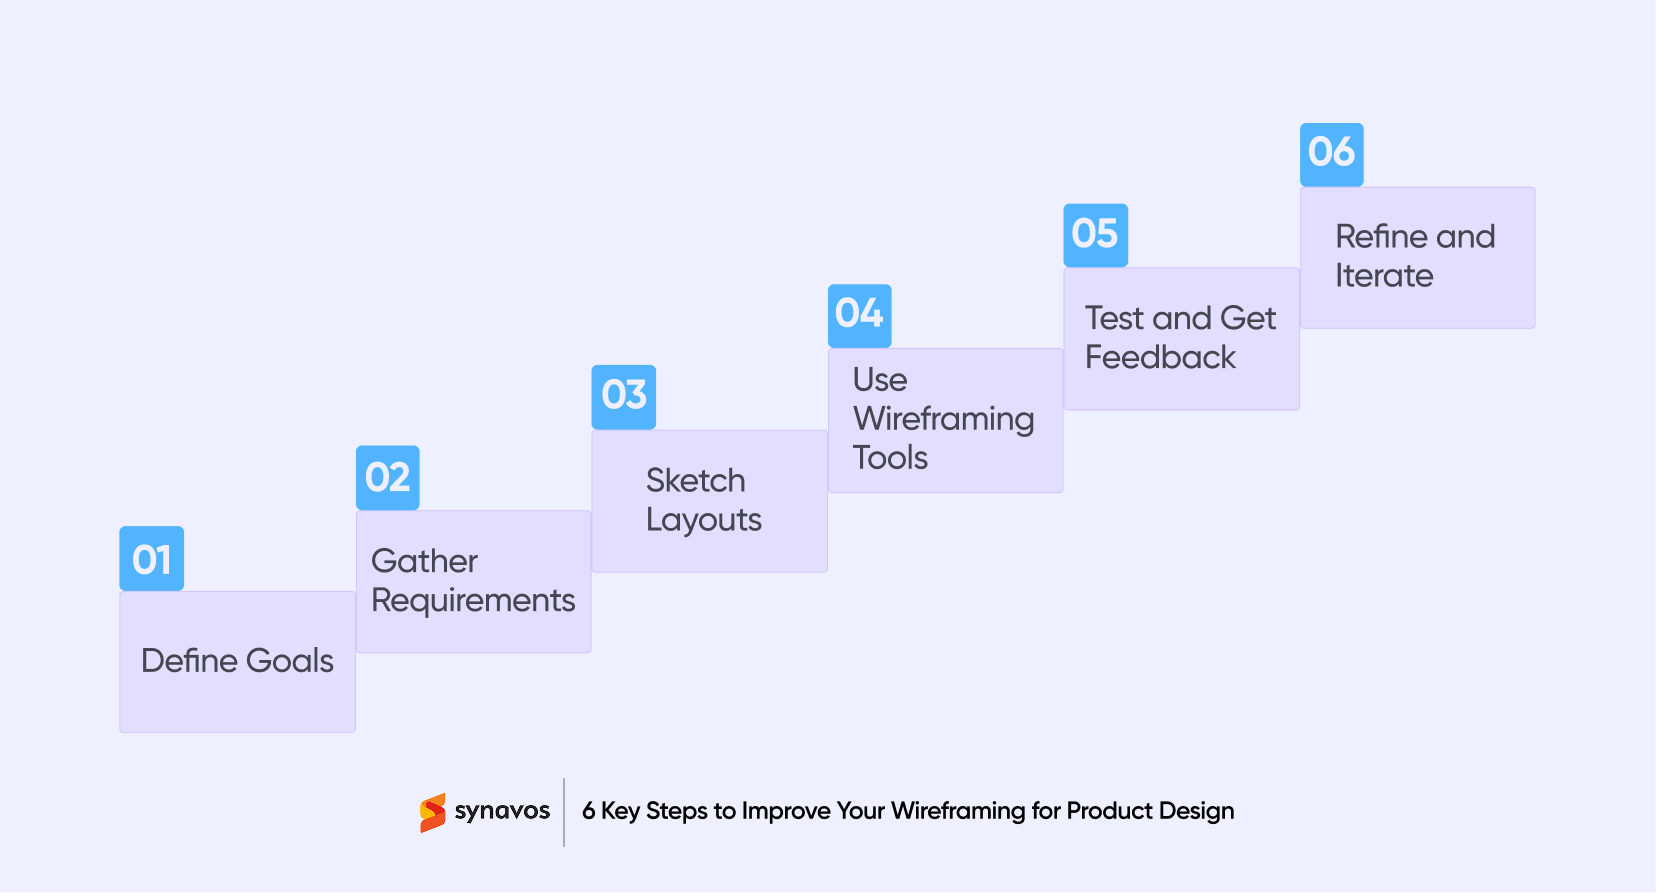
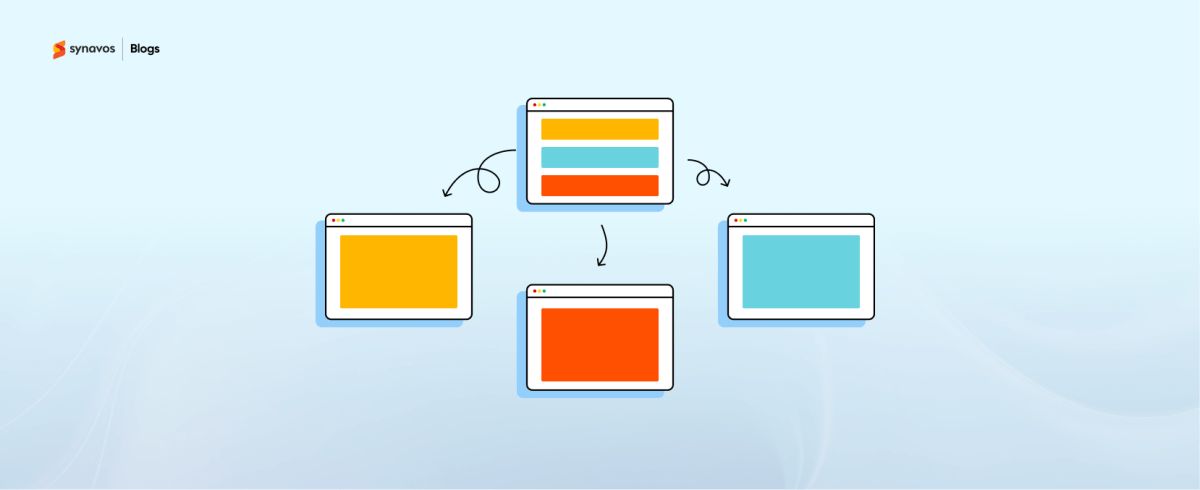
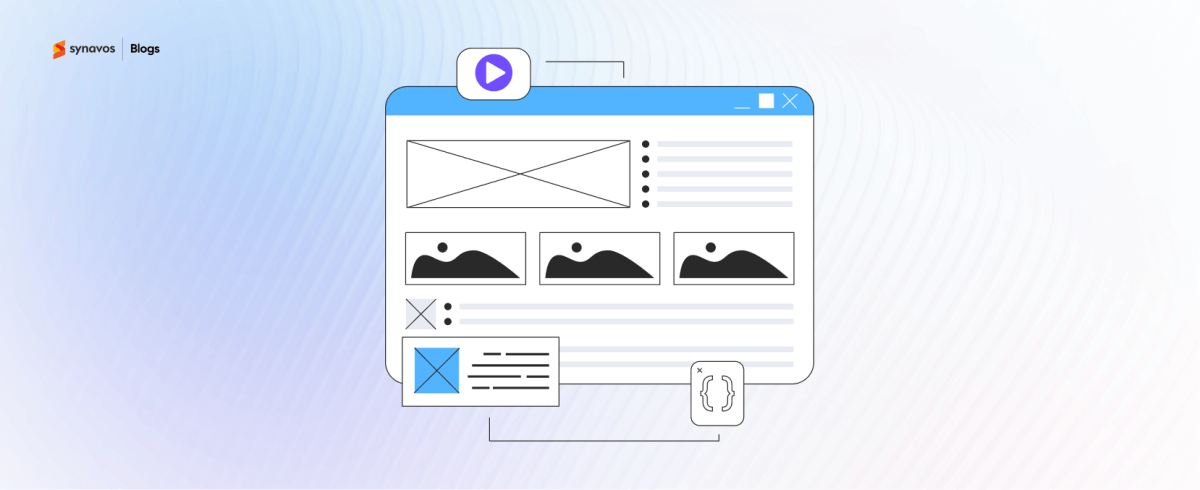
Step #4: Add Structure with Wireframing Tools
Once your sketches feel solid, take them digital. Tools like Figma, Sketch, Adobe XD, or Balsamiq help you create structured wireframes that are easier to share, edit, and collaborate on.
Digital wireframes add clarity by using consistent spacing, grids, and alignment. They also allow you to simulate user flows, which is crucial for spotting navigation gaps or interaction issues.
By choosing the right tool, you make your wireframes scalable and professional. This step also prepares your designs for the next phase of prototyping, where visuals and interactions become more realistic.
Step #5: Test and Gather Feedback
Wireframes are meant to be tested, not hidden. Share your wireframes with teammates, stakeholders, and — most importantly — real users. Their perspective often reveals usability issues or gaps your team may have overlooked.
Testing early saves time and resources. Catching problems in the wireframing stage is far cheaper and easier than fixing them later during development.
Feedback loops also make your design stronger. The more input you gather, the more confident you can be that your product is moving in the right direction.
Step #6: Refine and Iterate
The true power of wireframing lies in iteration. Every round of feedback is an opportunity to refine your design. This could mean adjusting layouts, improving navigation, or adding missing features.
Don’t treat your first wireframe as the final version. Move gradually from low-fidelity to high-fidelity wireframes, adding more detail and polish as you go. This keeps the process flexible while ensuring progress.
Iteration ensures your final design isn’t based on assumptions but on tested insights. It helps you deliver a product that feels intuitive and solves real problems for users.
Final Words
Wireframing gives structure to ideas and turns them into something tangible your team can align on. By following the six steps outlined above, you create a process that highlights what matters most, reduces costly revisions, and builds confidence before moving into design and development. A thoughtful wireframe not only saves time but also sets the stage for a product that feels intuitive and delivers real value to users.
Bring Your Ideas to Life with Synavos
At Synavos, we take pride in our position as a leading digital product design company. Our design experts help you turn early concepts into user-friendly digital products with thoughtful design and smart wireframing.
Explore our portfolio to see how we’ve helped businesses shape ideas into successful solutions.
Reach out to us today and take the first step toward building your next great product!