Digital product design is not just about making things look good. It is about creating solutions that are useful, easy to navigate, and built to last. Whether you are designing a mobile app, a website, or a web-based platform, the process involves more than picking colors or placing buttons. It is a journey from understanding the problem to delivering a fully functional experience.
In this blog, we will break down the entire digital product design process step by step. From research to launch, you will learn how product teams turn ideas into experiences that users want and need.
Why Following a Design Process Matters
Design is not just about aesthetics. It is about solving the right problems for the right people at the right time. When you follow a structured design process:
- You create alignment across teams
- You save time and budget by reducing rework
- You focus on user needs from day one
- You build solutions that are scalable and easy to improve
Without a process, it is easy to waste time on guesswork, over-designing features users do not need, or facing communication gaps between design and development teams.
If you are new to the concept of digital product design, our blog What Is Digital Product Design? Definition, Process, and Benefits gives a complete introduction before getting into the details.
8 Key Steps in the Digital Product Design Process
Following are the 8 proven steps that help transform product ideas into functional and intuitive digital experiences.
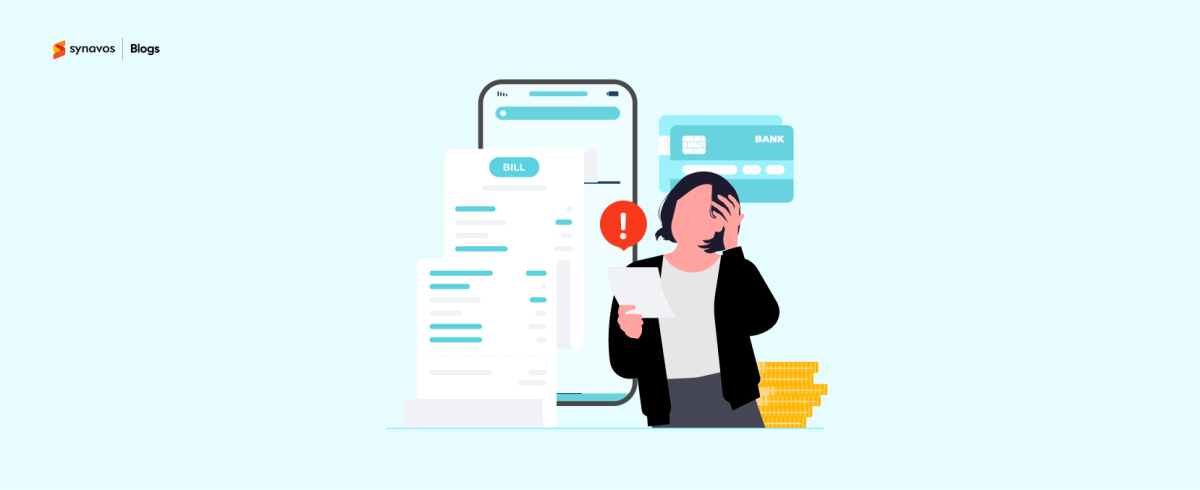
1. Discover the Problem and the User
Before any design work begins, it’s crucial to get clarity on two things: the problem you're solving and who you’re solving it for.
This discovery phase often involves:
- Stakeholder interviews
- User research
- Market analysis
- Competitive benchmarking
The aim is to uncover pain points, user motivations, and business constraints. The insights gathered here will shape every decision moving forward.
Output: User personas, problem statements, journey maps
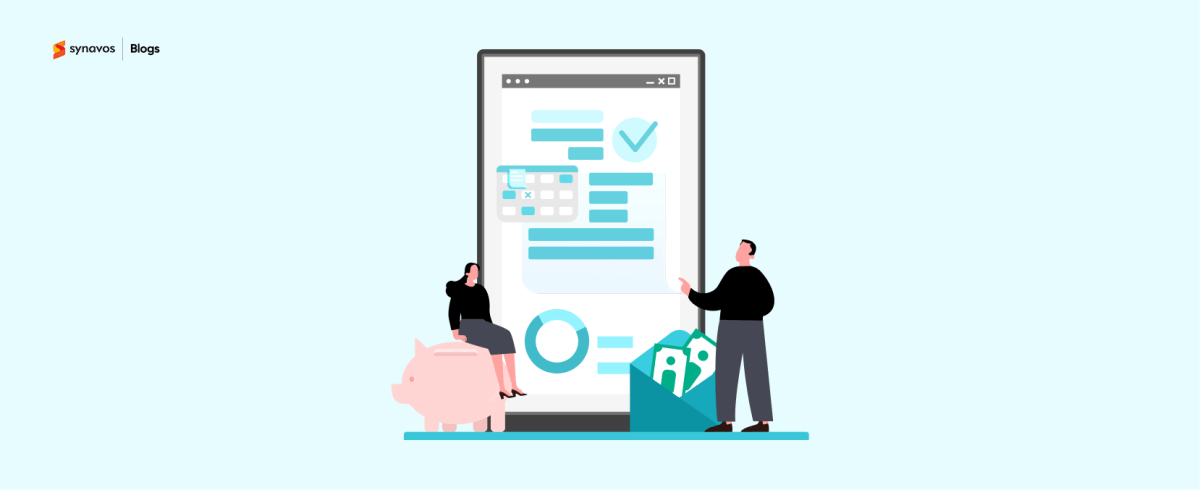
2. Defining the Product Vision
Once you’ve mapped out the problem space, it's time to define what the product should do and how it should work.
Key activities include:
- Clarifying user needs and goals
- Prioritizing features and functionalities
- Drafting a value proposition
- Aligning design goals with business outcomes
This step ensures that the team is aligned and working towards the same vision from day one.
Output: Product vision statement, feature list, design goals
3. Information Architecture & User Flow Planning
This is where structure starts taking shape.
Designers create a blueprint of the product’s structure to organize content and features in a way that’s logical and user-friendly. Key tasks include:
- Mapping user flows
- Creating sitemaps
- Planning screen hierarchies
By defining how users move through the product, we can remove friction and guide them to the intended outcomes.
Output: User flow diagrams, information architecture maps
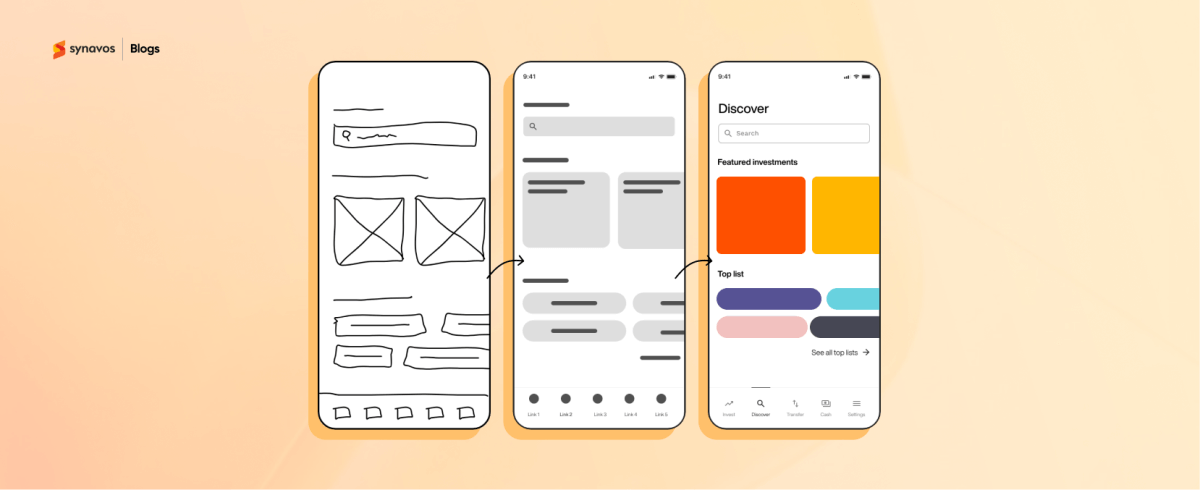
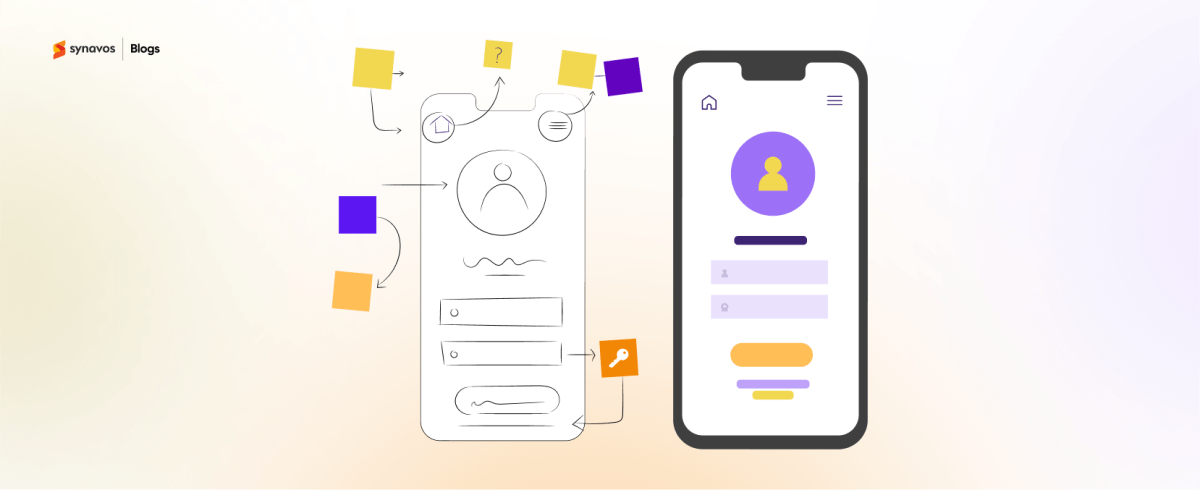
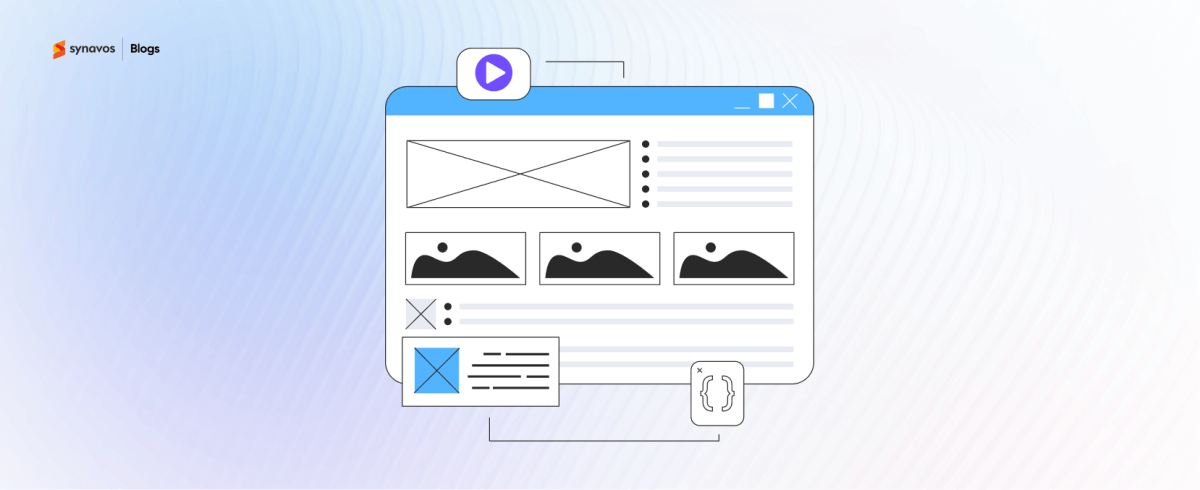
4. Wireframing and Low-Fidelity Prototypes
Now that the skeleton of your product is clear, it’s time to bring it to life visually through wireframes.
Wireframes focus on layout, functionality, and navigation without getting into visual design details. These low-fidelity prototypes help teams:
- Test ideas early
- Validate flows
- Get stakeholder feedback faster
This stage is all about fast iteration and making decisions before you invest in final designs.
Output: Wireframes, clickable prototypes
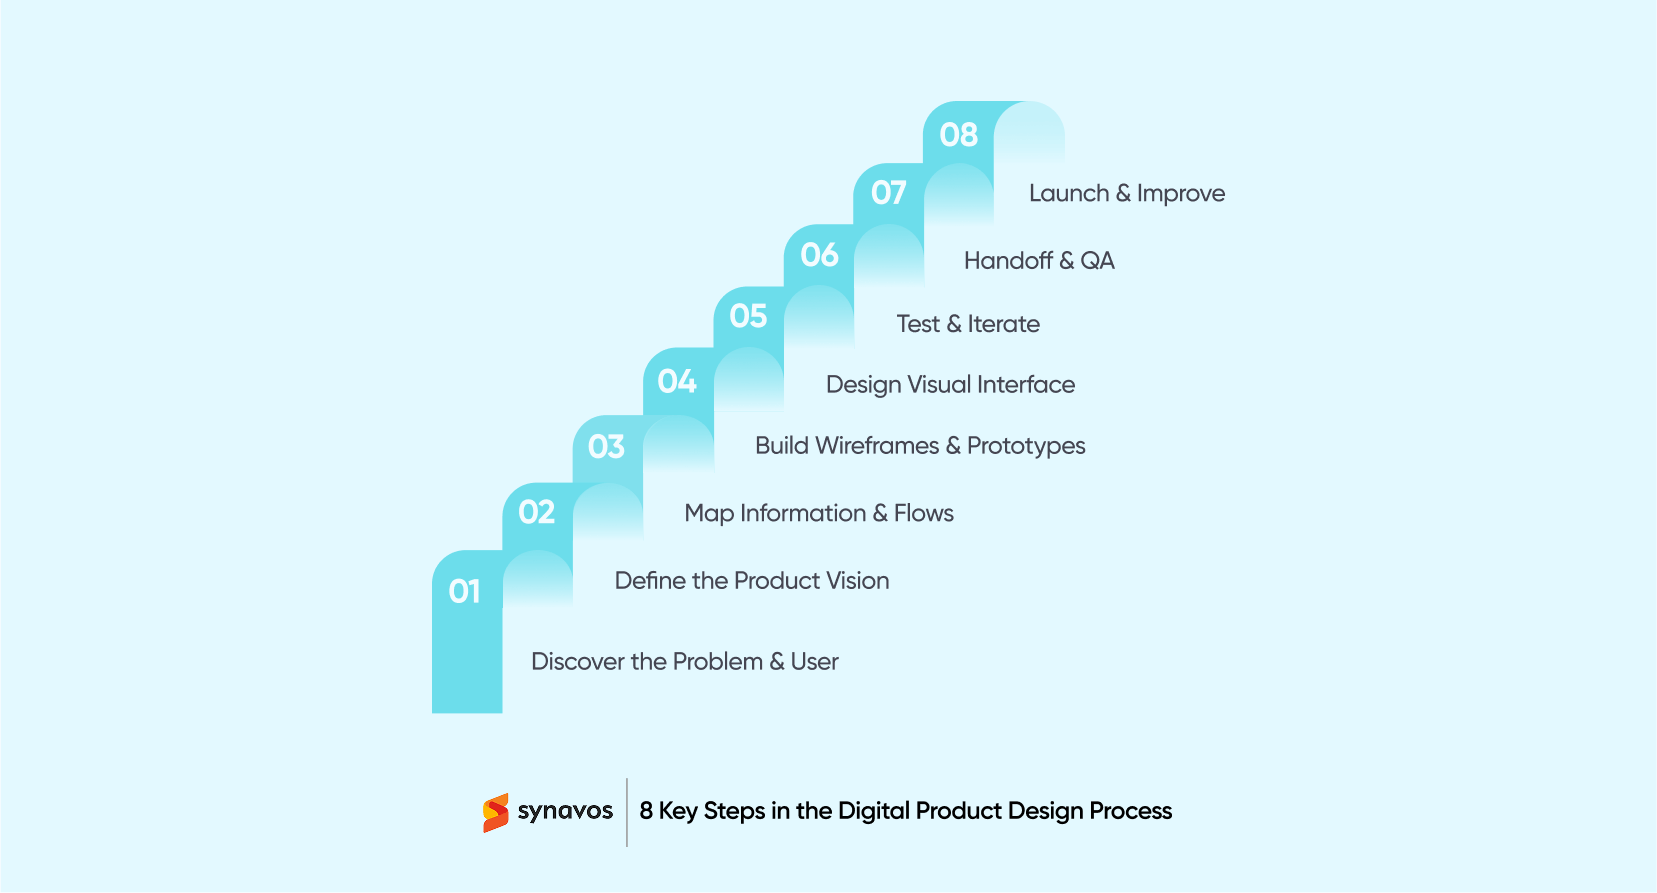
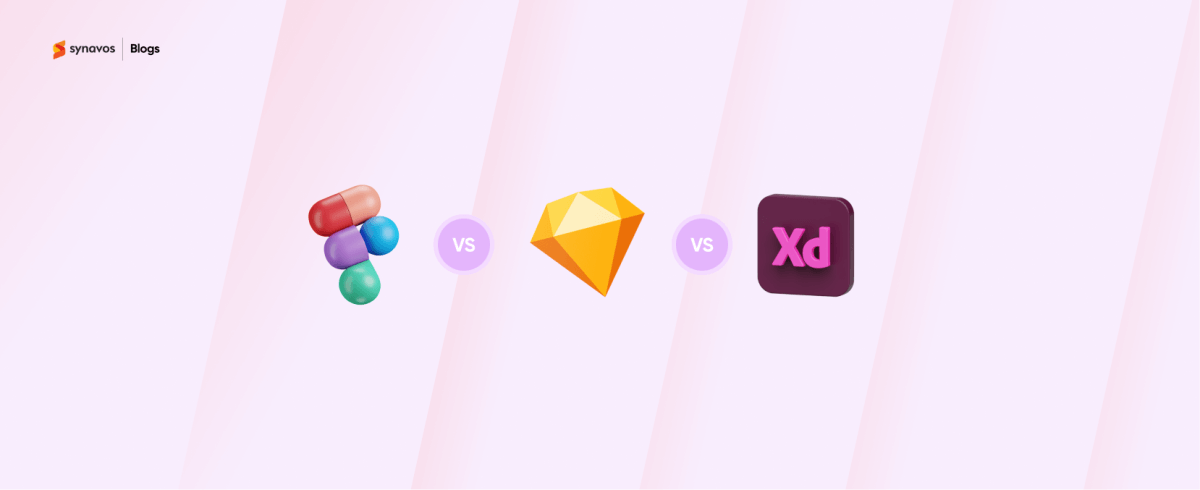
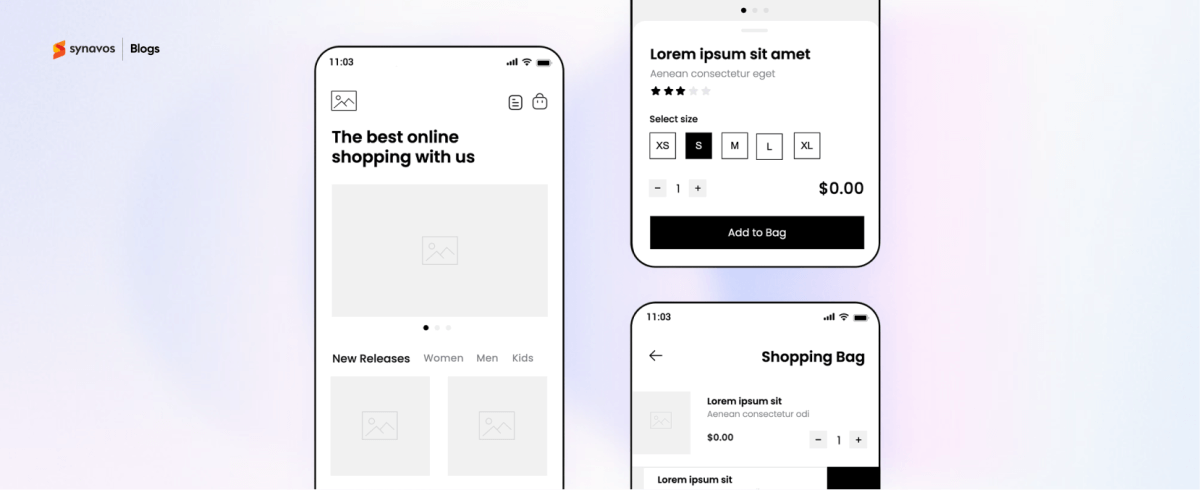
5. Visual Design and UI Development
Once wireframes are validated, it’s time to design the actual look and feel.
This stage includes:
- Choosing typography, color palettes, and iconography
- Creating UI components
- Designing screens for different devices and scenarios
A strong visual language ensures consistency and elevates the brand experience.
Output: UI design mockups, design systems, component libraries
6. Usability Testing and Iteration
With designs in hand, it’s time to test with real users. The goal is to catch usability issues early and ensure the product meets user expectations.
Typical activities include:
- A/B testing
- Heuristic evaluations
- Feedback collection through usability tests
Iterations are made based on the findings to fine-tune the experience.
Output: Test reports, revised designs
7. Developer Handoff and Design QA
At this point, the design work gets handed off to developers with all the necessary specs and assets. But the designer’s job doesn’t end here.
To ensure the product matches the design vision, design QA is performed throughout the development process.
Tasks include:
- Reviewing staging environments
- Providing design specs
- Collaborating with developers to solve layout or interaction issues
This ensures the final product looks and behaves as intended.
Output: Production-ready designs, development-ready assets
8. Launch, Feedback, and Continuous Improvement
The product goes live, but the design process continues. Launch is not the finish line, it’s the start of learning from real user behavior.
Post-launch activities involve:
- Collecting feedback and analytics
- Identifying usability bottlenecks
- Updating the product based on user needs and market shifts
Digital product design is iterative by nature. Great products evolve over time.
Output: Usage insights, backlog of improvements, updated design roadmap
Final Thoughts
Digital product design is a team effort that combines research, creativity, testing, and iteration. By following a clear step-by-step process, you are more likely to build products that users trust and enjoy using. Every stage from discovery to delivery plays a vital role in shaping that experience.
If you are just starting your product journey or looking to improve how your team designs and builds, treat the process with care. Each step has a purpose, and skipping one may cost more in the long run than investing the time up front.
Need help with your digital product design process? Synavos is here to help.
Connect with our experts today to see how we can support you in bringing better digital experiences to life.