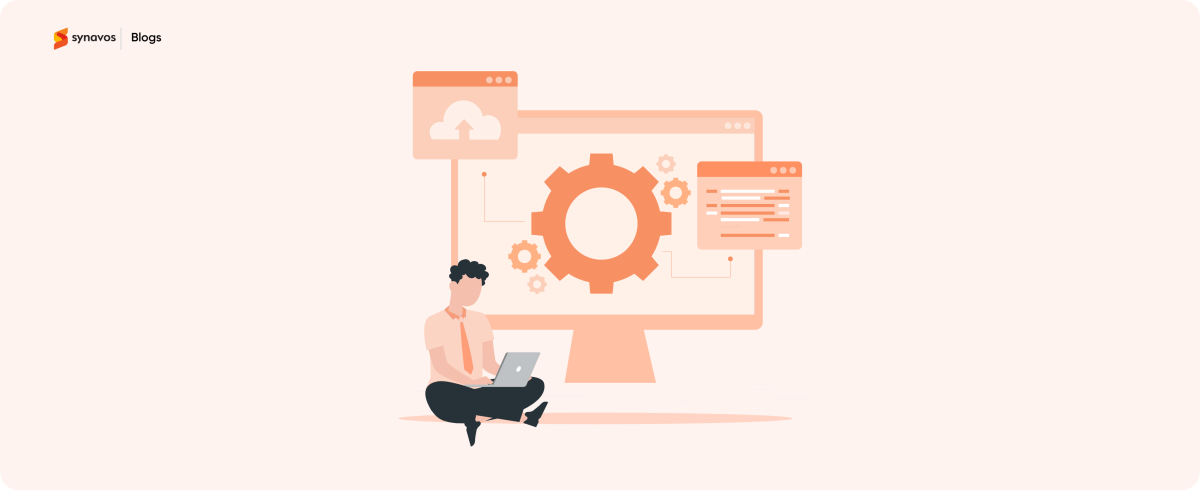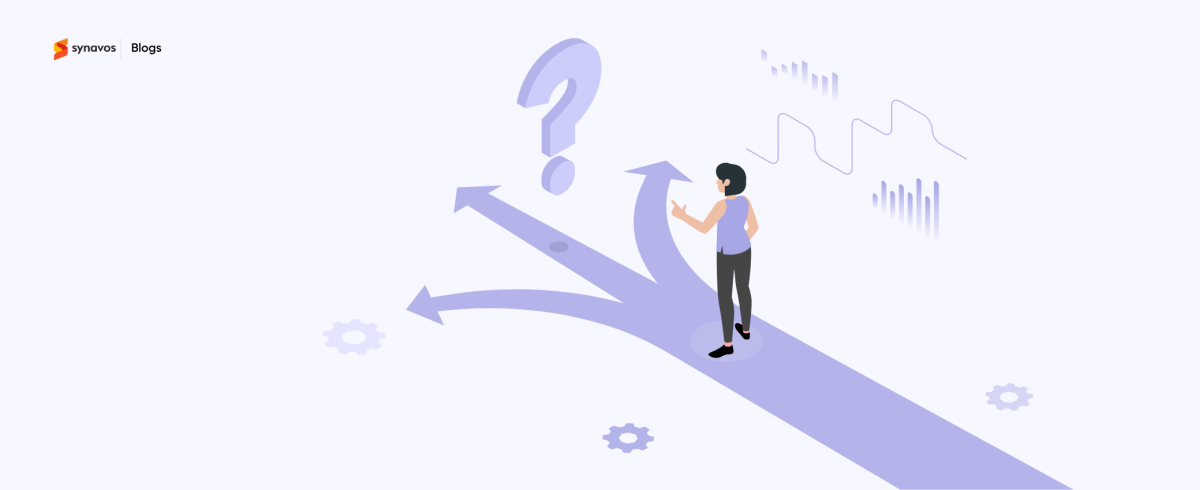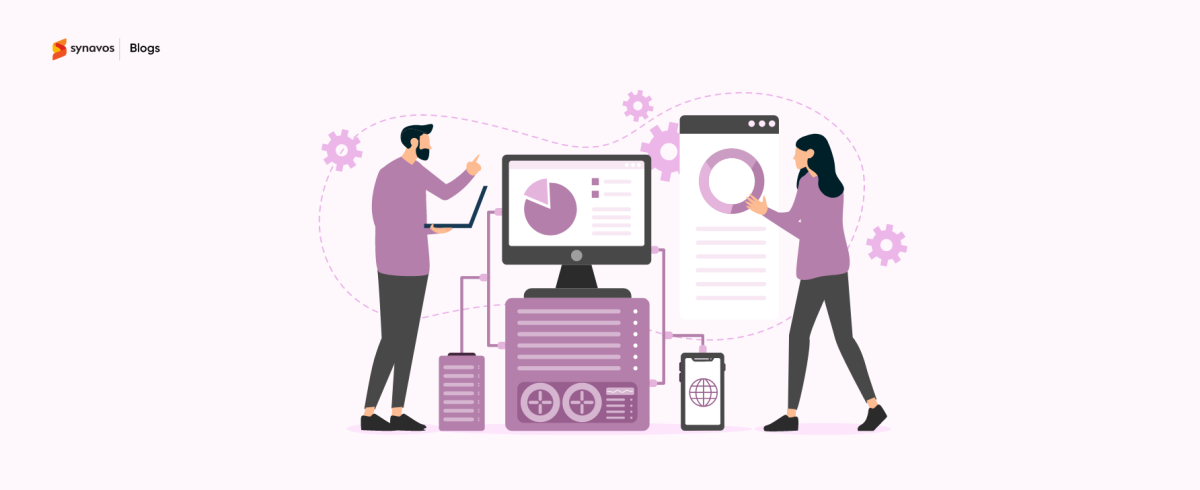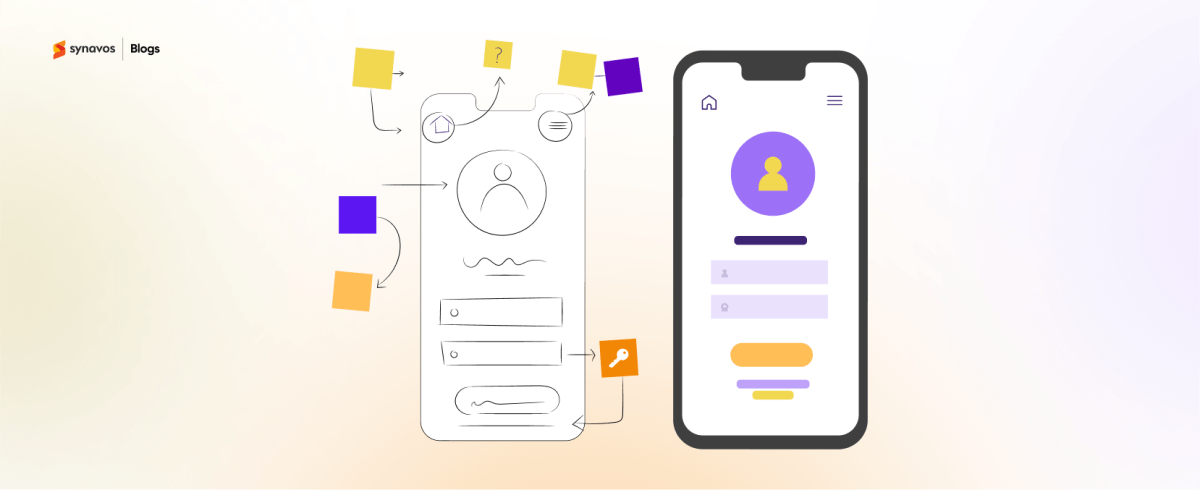
Designing a digital product isn’t just about jumping straight to polished screens. Before anything goes live, teams need a way to explore ideas, test assumptions, and spot problems early. That’s exactly what prototyping does.
A prototype acts as a bridge between an idea and the final product. It can be as simple as a sketch or as detailed as a near-final interactive design. The goal is the same: to see how the product will work, gather feedback, and make improvements before development begins.
In this blog, we’ll explore the different types of prototypes, the tools designers use to create them, and some best practices to make your prototyping process faster, smarter, and more effective.
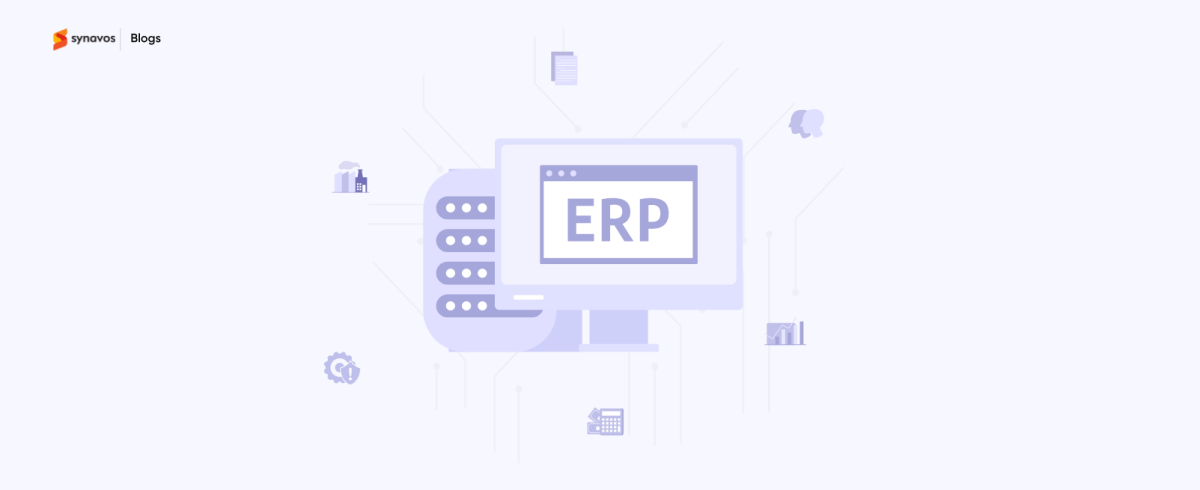
What is Prototyping?
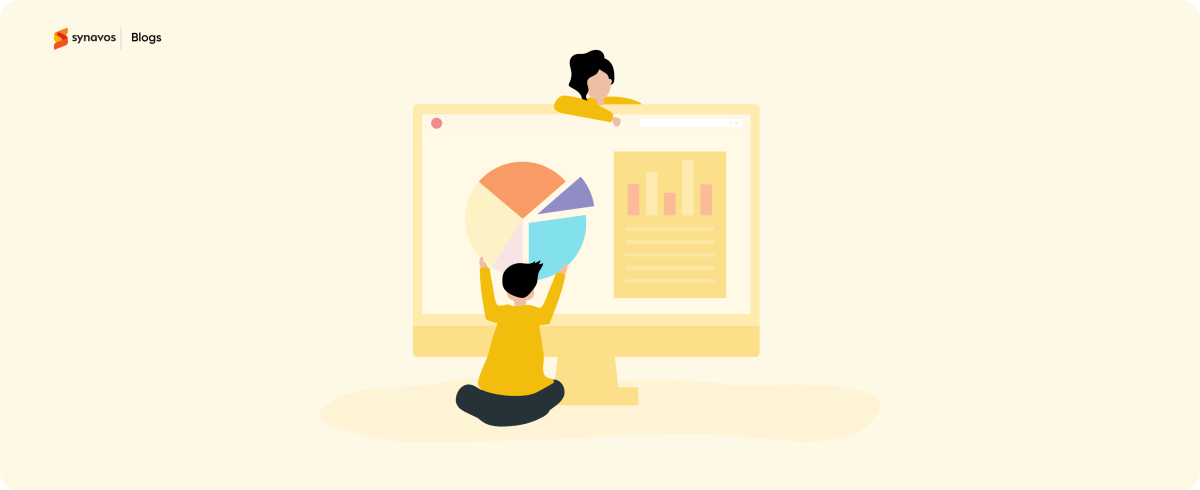
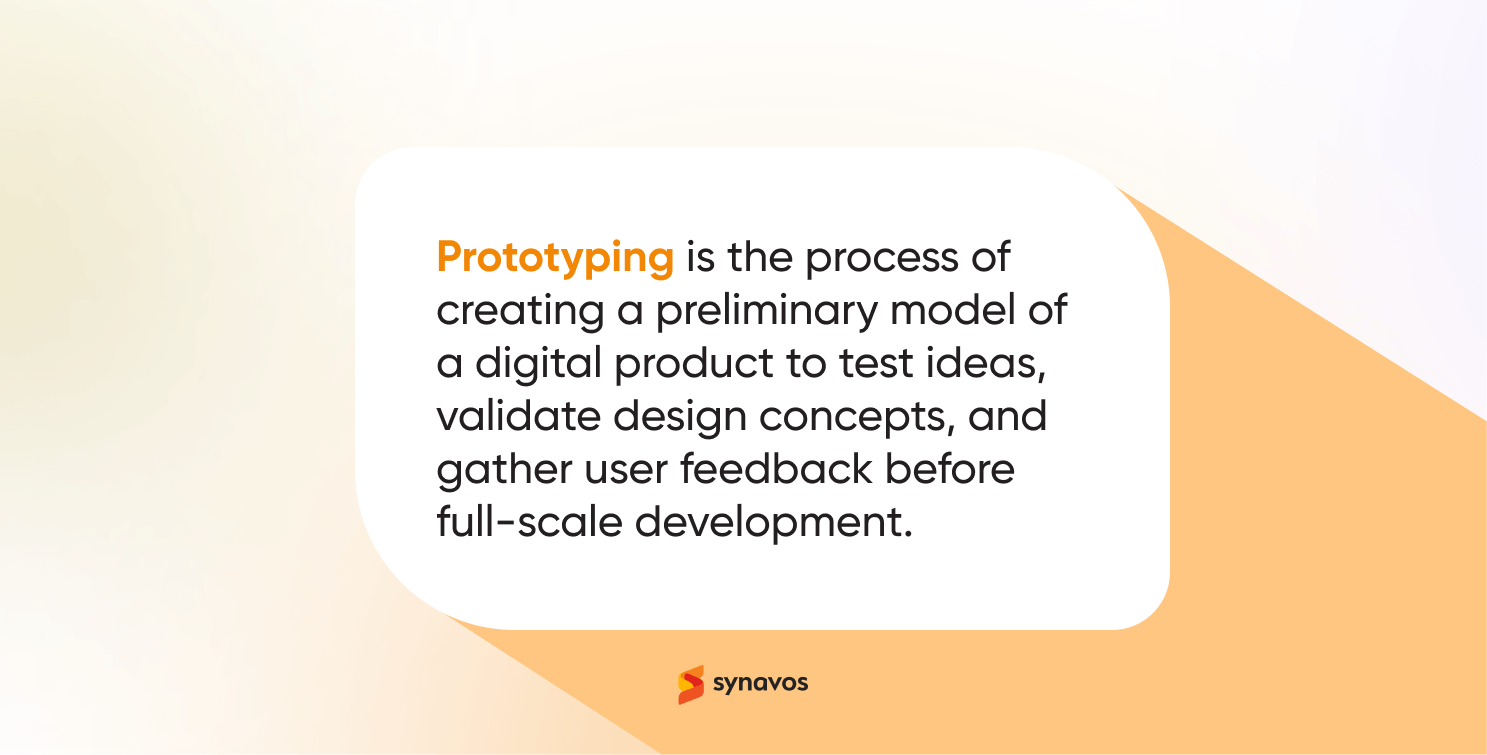
Prototyping in product design is the process of creating an early model or simulation of a digital product, such as a website, mobile app, or software platform, to visualize ideas, test user flows, and validate design decisions before development begins.
The main goal of prototyping is to validate concepts and identify potential problems early. It helps designers understand how users interact with a product, discover gaps in the design, and refine features for a smoother user experience. By testing assumptions through prototypes, businesses can reduce risks, save time, and ensure the final product aligns with user expectations.
Types of Prototypes
Prototypes come in different forms depending on the level of detail, interactivity, and purpose. Understanding these types helps teams choose the right approach for testing and iteration.
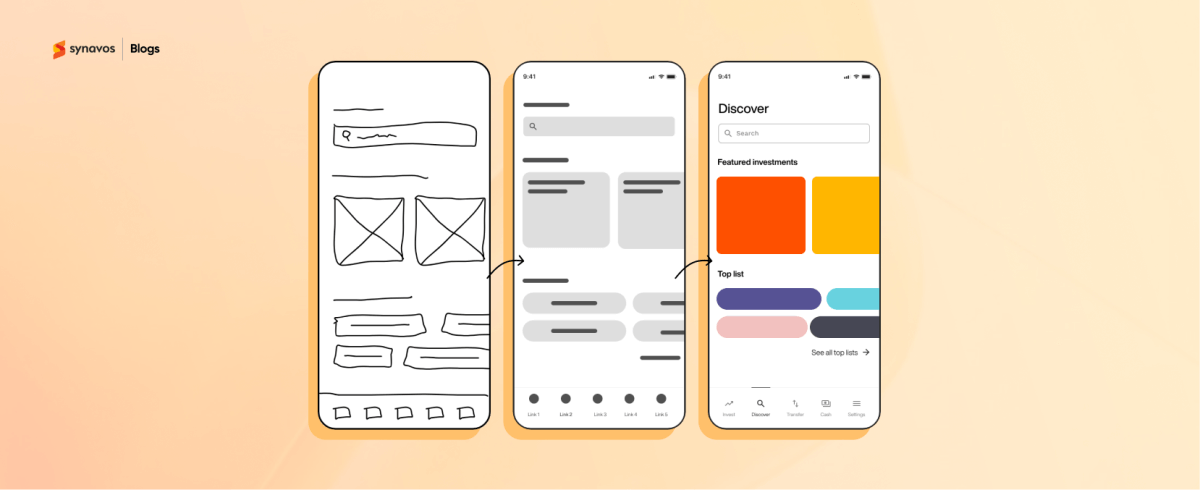
1. Low-Fidelity Prototypes
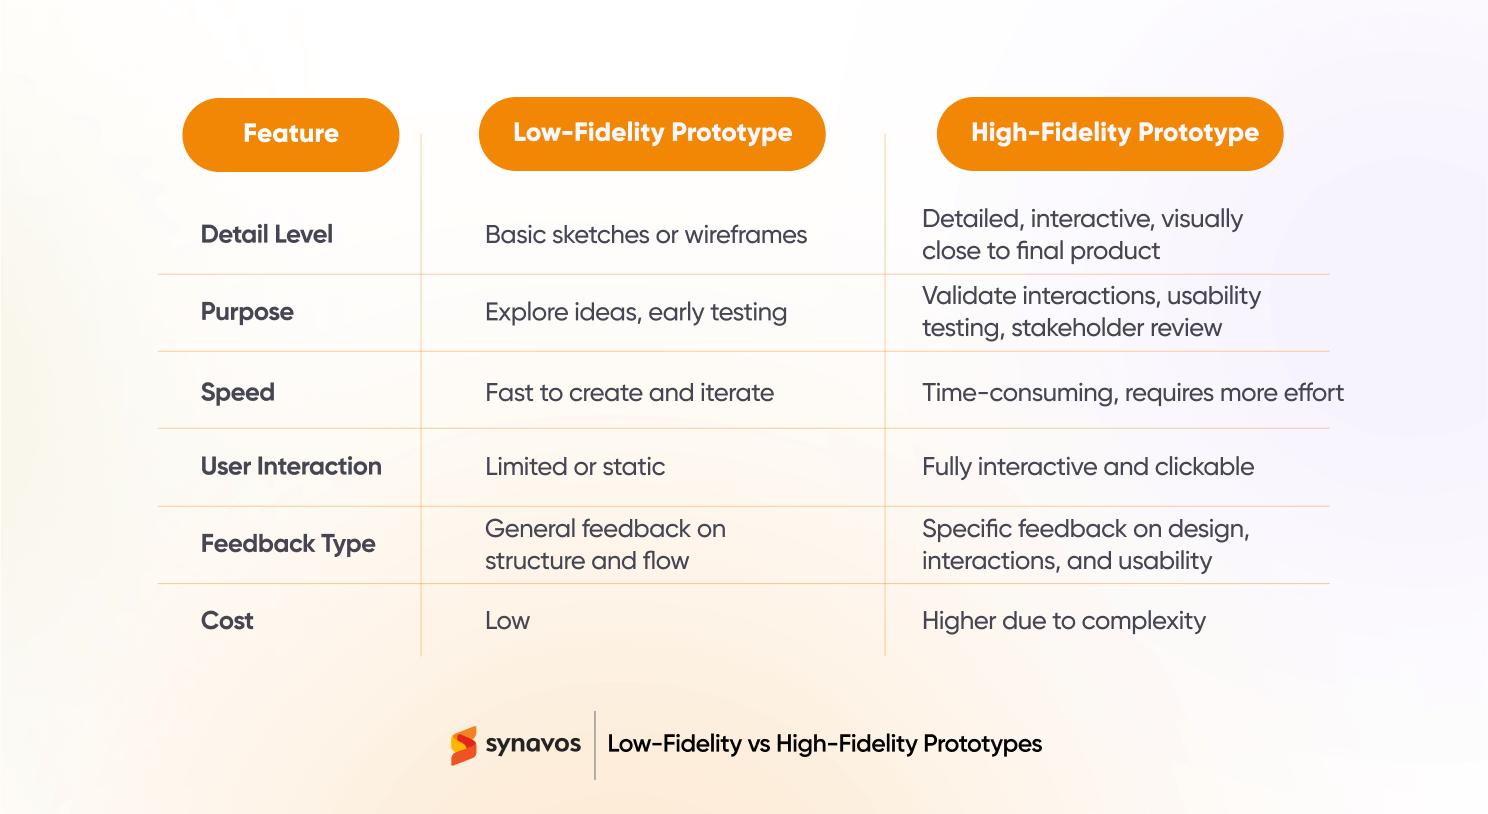
Low-fidelity prototypes are simple and often hand-drawn. They focus on structure, layout, and flow rather than aesthetics or interactivity.
Use Cases:
- Brainstorming sessions
- Early-stage idea validation
- Quick exploration of multiple design options
Advantages:
- Fast and inexpensive to create
- Encourages experimentation and creativity
- Easy to iterate without heavy resource investment
Limitations:
- Limited detail and interactivity
- Cannot fully replicate user experience
Pro Tip: Use sticky notes, sketches, or basic wireframing tools to visualize concepts quickly.
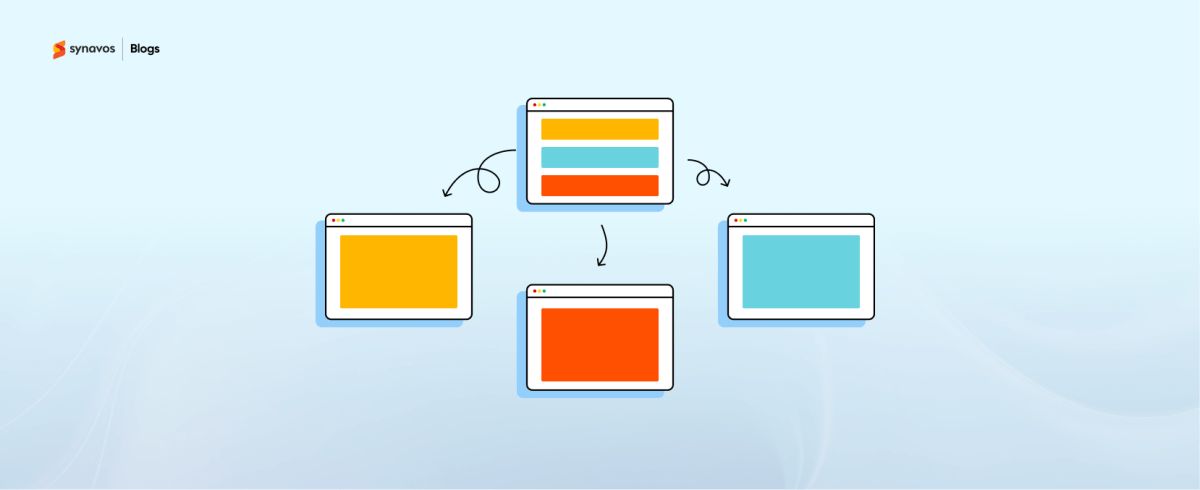
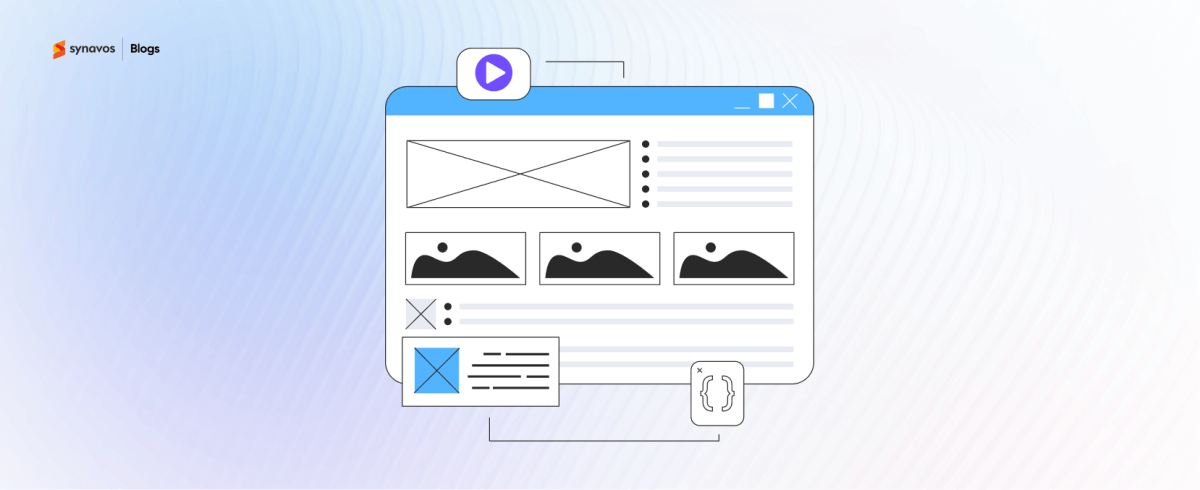
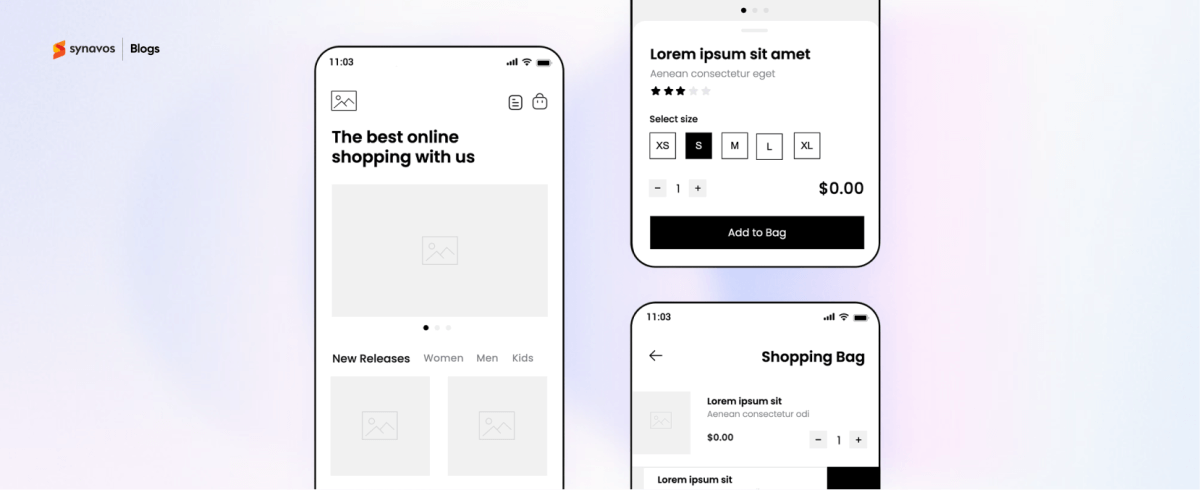
2. High-Fidelity Prototypes
High-fidelity prototypes are detailed, interactive models that closely resemble the final product. They include design elements like colors, typography, and functional interactions.
Use Cases:
- Usability testing with real users
- Demonstrating workflows to stakeholders
- Pre-development validation for complex interactions
Advantages:
- Provides a realistic user experience
- Helps identify subtle UX issues
- Useful for final approval and stakeholder buy-in
Limitations:
- Time-consuming to create
- Requires more resources and effort
Pro Tip: Focus on key user flows rather than the entire product initially to save time.
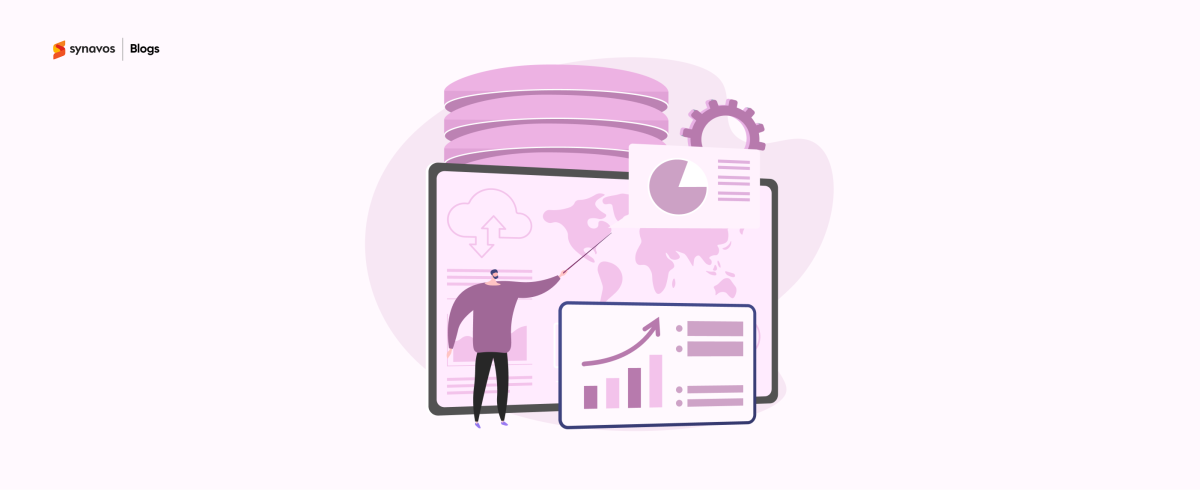
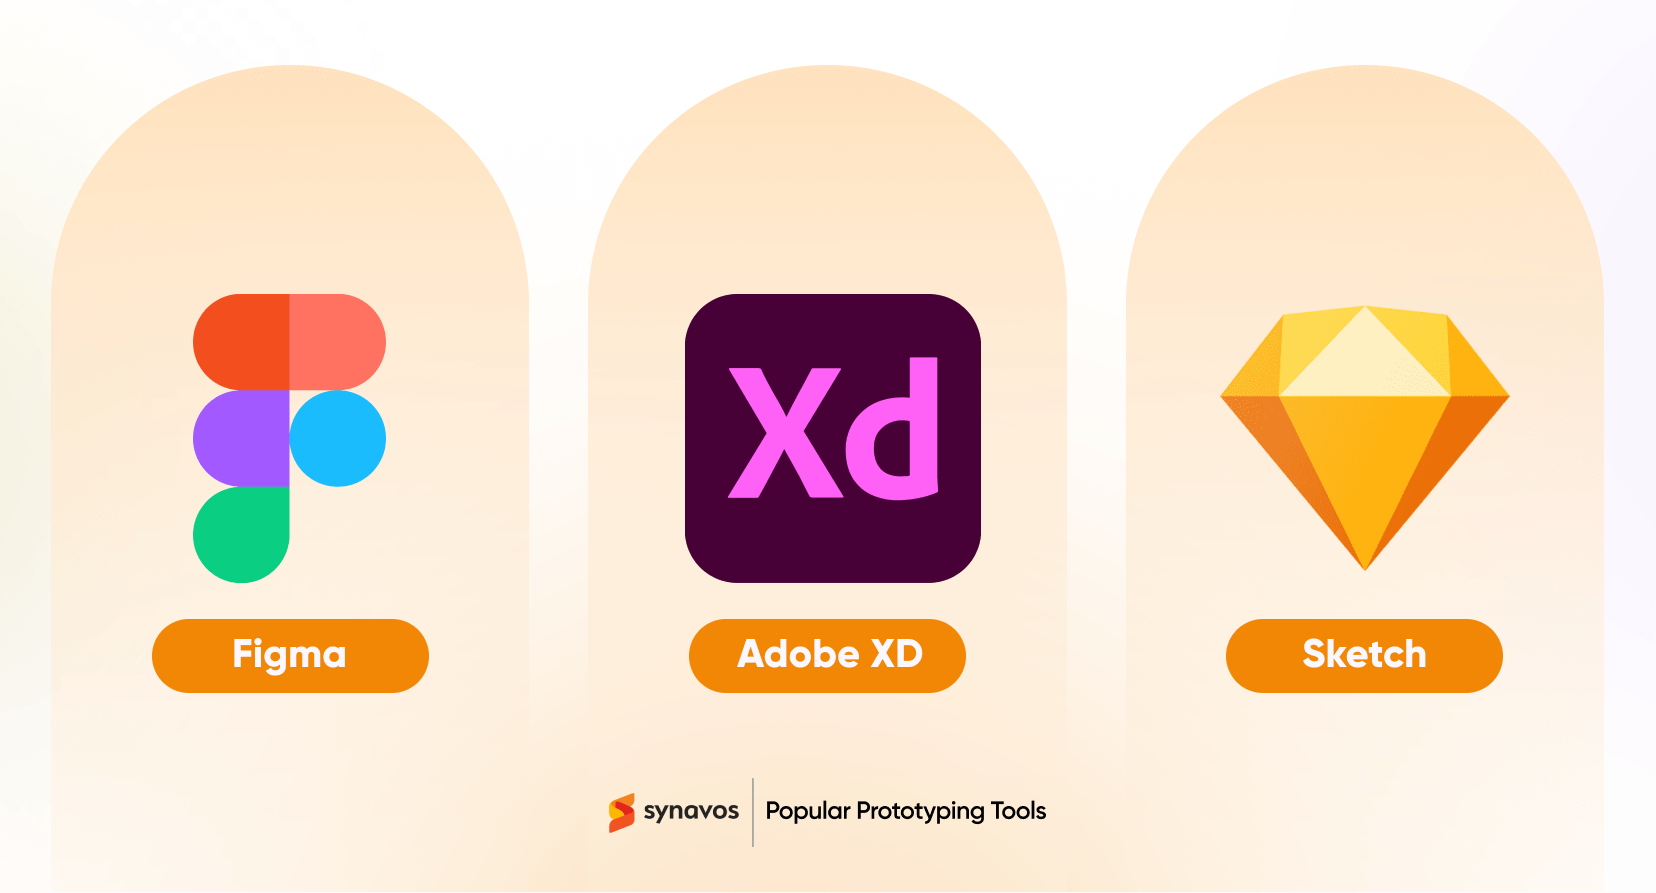
Popular Prototyping Tools
Choosing the right prototyping tool can make the design process faster, more collaborative, and more effective. Different tools offer varying features, fidelity levels, and collaboration options, so selecting the right one depends on your project needs.
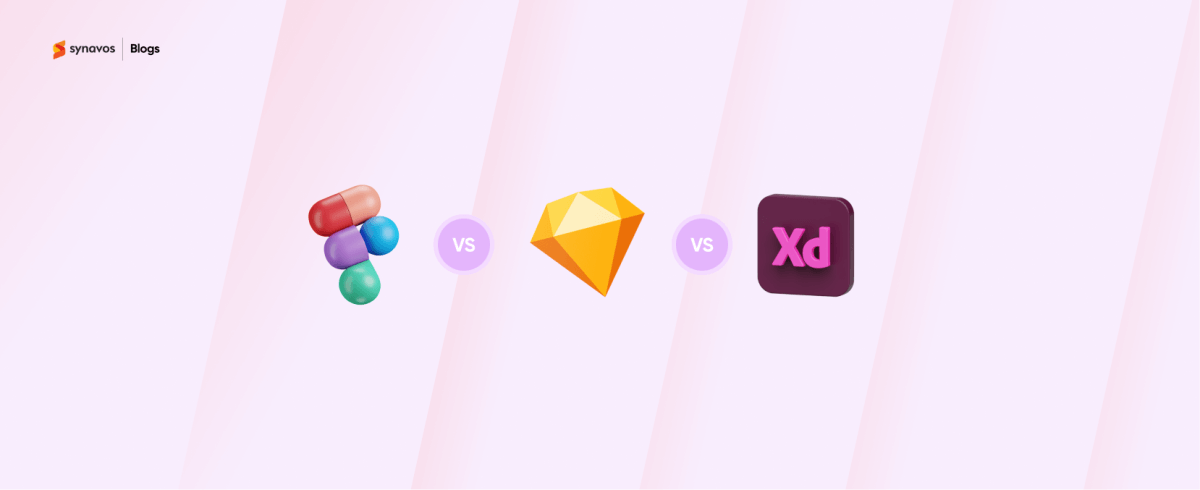
Figma
Figma is a cloud-based design tool known for real-time collaboration. It allows multiple team members to work on a prototype simultaneously, making it ideal for distributed teams. Its intuitive interface and interactive prototyping features make it a favorite among modern product designers.
Sketch
Sketch is a vector-based design tool popular for interface and web design. It offers robust plugin support and is highly efficient for creating high-fidelity prototypes. While it’s primarily Mac-only, its simplicity and speed make it ideal for small to medium design teams.
Adobe XD
Adobe XD combines design and prototyping in a single tool. It supports interactive prototypes, animations, and voice interfaces. Its integration with the Adobe ecosystem allows seamless workflows for teams already using Photoshop or Illustrator.
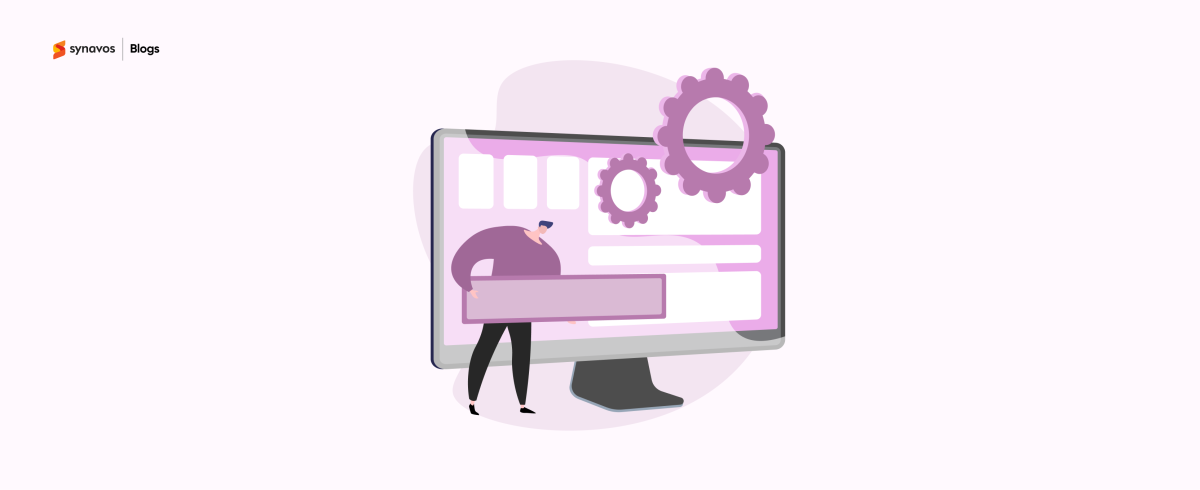
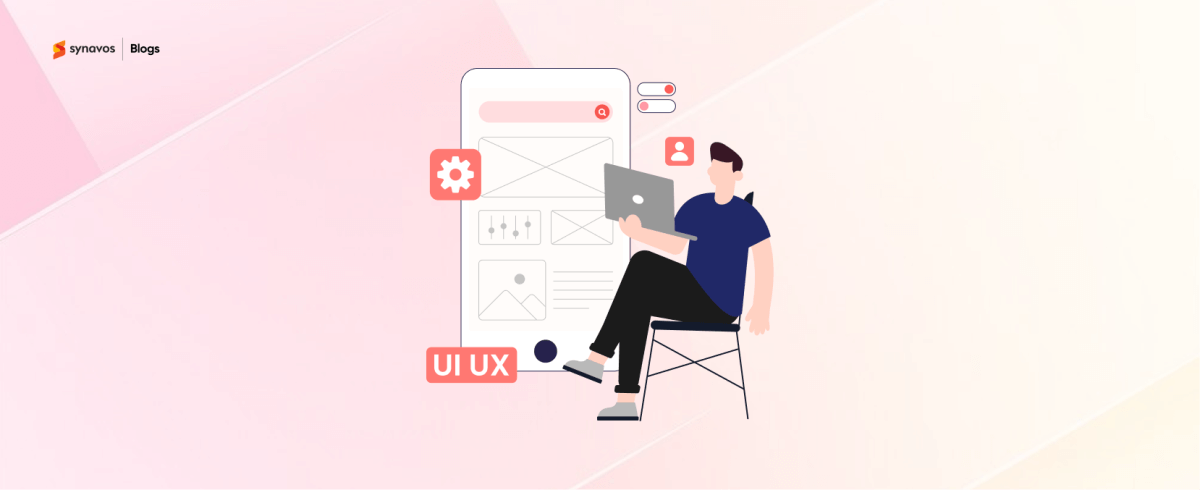
Best Practices for Effective Prototyping
Prototyping is more than just building a model of your product. It’s about exploring ideas, testing assumptions, and making smarter design decisions before investing heavily in development. The way you approach prototyping can greatly influence the success of your final product.
1. Start Simple
Begin with low-fidelity prototypes such as sketches, wireframes, or simple clickable mockups. The goal is to visualize ideas quickly and identify potential problems without investing too much time or effort. Starting simple allows you to experiment with multiple approaches and gather feedback early. It’s much easier to adjust a sketch than a polished interactive prototype.
2. Test Early and Often
Share your prototype with real users as soon as possible. Early testing uncovers usability issues, flow problems, or confusing interactions that might not be obvious to your team. The more often you test, the better you understand your users’ needs and expectations. Frequent testing also prevents small issues from snowballing into major problems later.
3. Iterate Based on Feedback
Feedback is only useful if you act on it. Each round of testing should inform the next iteration, whether it’s a small tweak to a layout or a complete redesign of a feature. Iteration ensures your product evolves based on real insights rather than assumptions, increasing the chances of delivering a solution users actually enjoy.
4. Keep Everyone in the Loop
Involve designers, developers, and stakeholders throughout the process. Open communication ensures that everyone understands the purpose behind design decisions and can provide meaningful input. Collaboration helps prevent misunderstandings, keeps the team aligned, and encourages faster problem-solving when issues arise.
5. Balance Detail and Speed
Choose the fidelity of your prototype carefully. Low-fidelity prototypes are perfect for brainstorming and quick tests, while high-fidelity versions are needed to demonstrate interactions, animations, or visual design. The trick is to maintain momentum without sacrificing the clarity needed to gather actionable feedback.
6. Document Learnings
As you prototype, record your observations, the feedback you receive, and the design decisions made. This documentation ensures continuity, helps onboard new team members quickly, and provides a reference for future iterations. It also creates a clear rationale for why certain design choices were implemented.

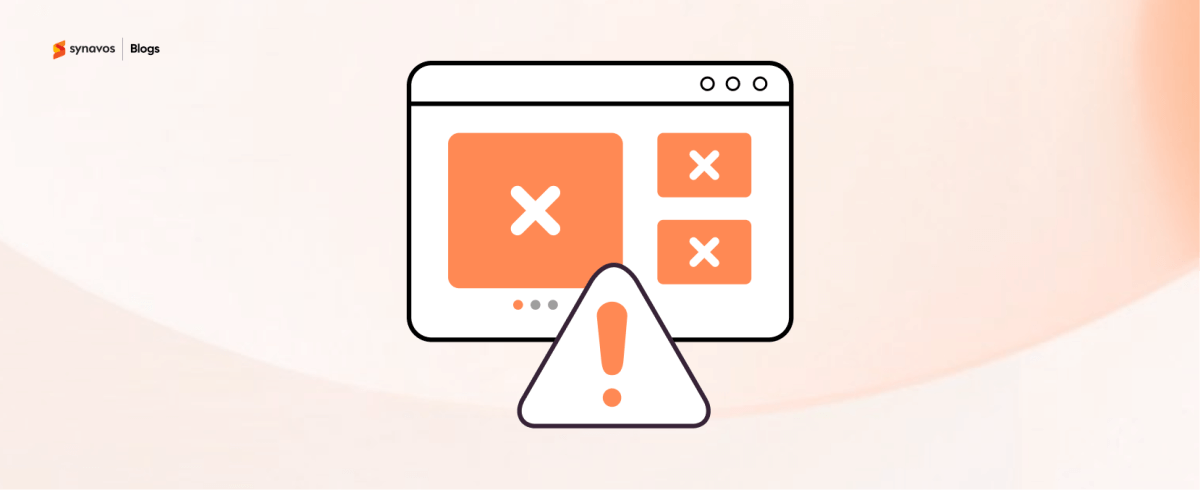
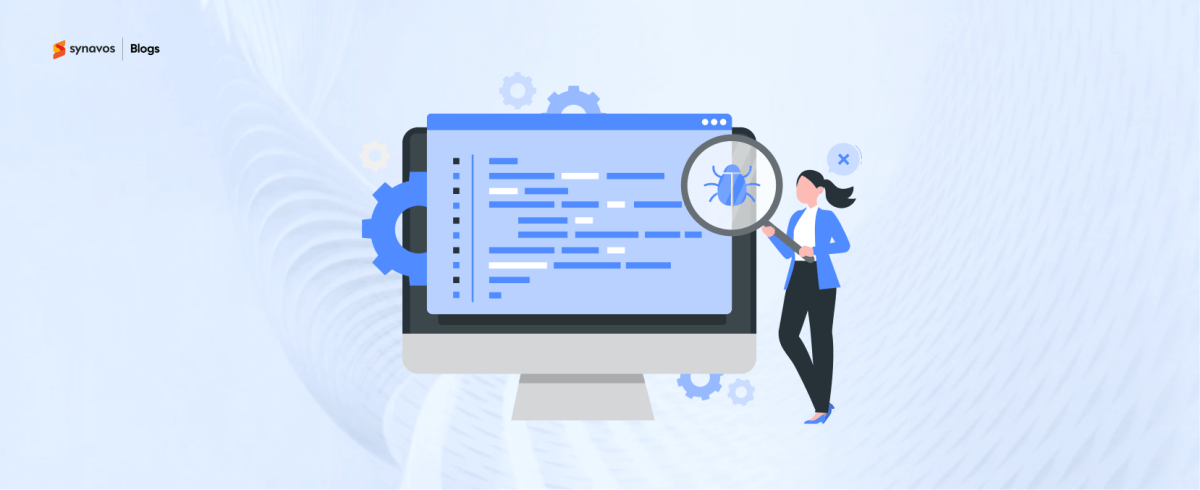
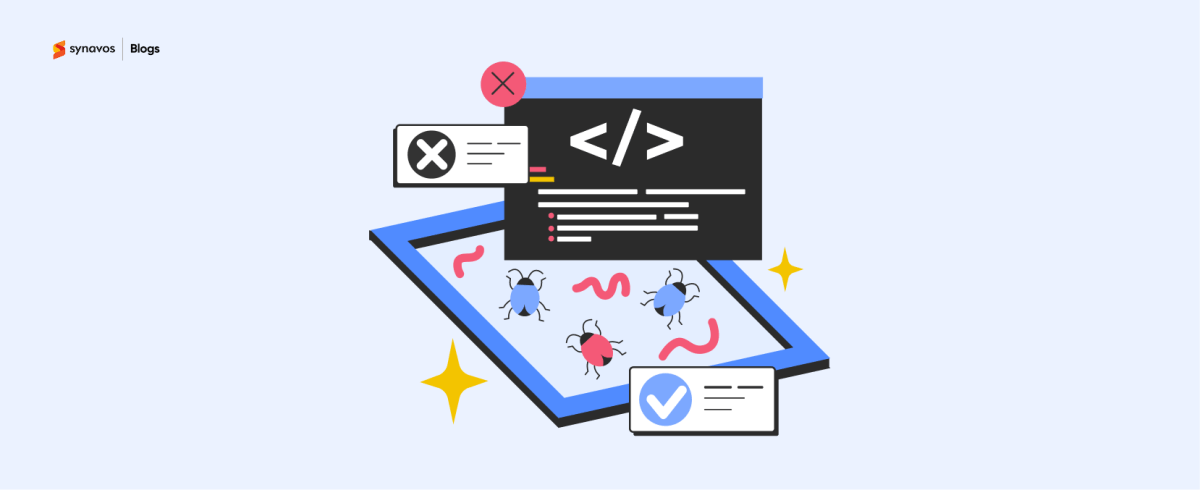
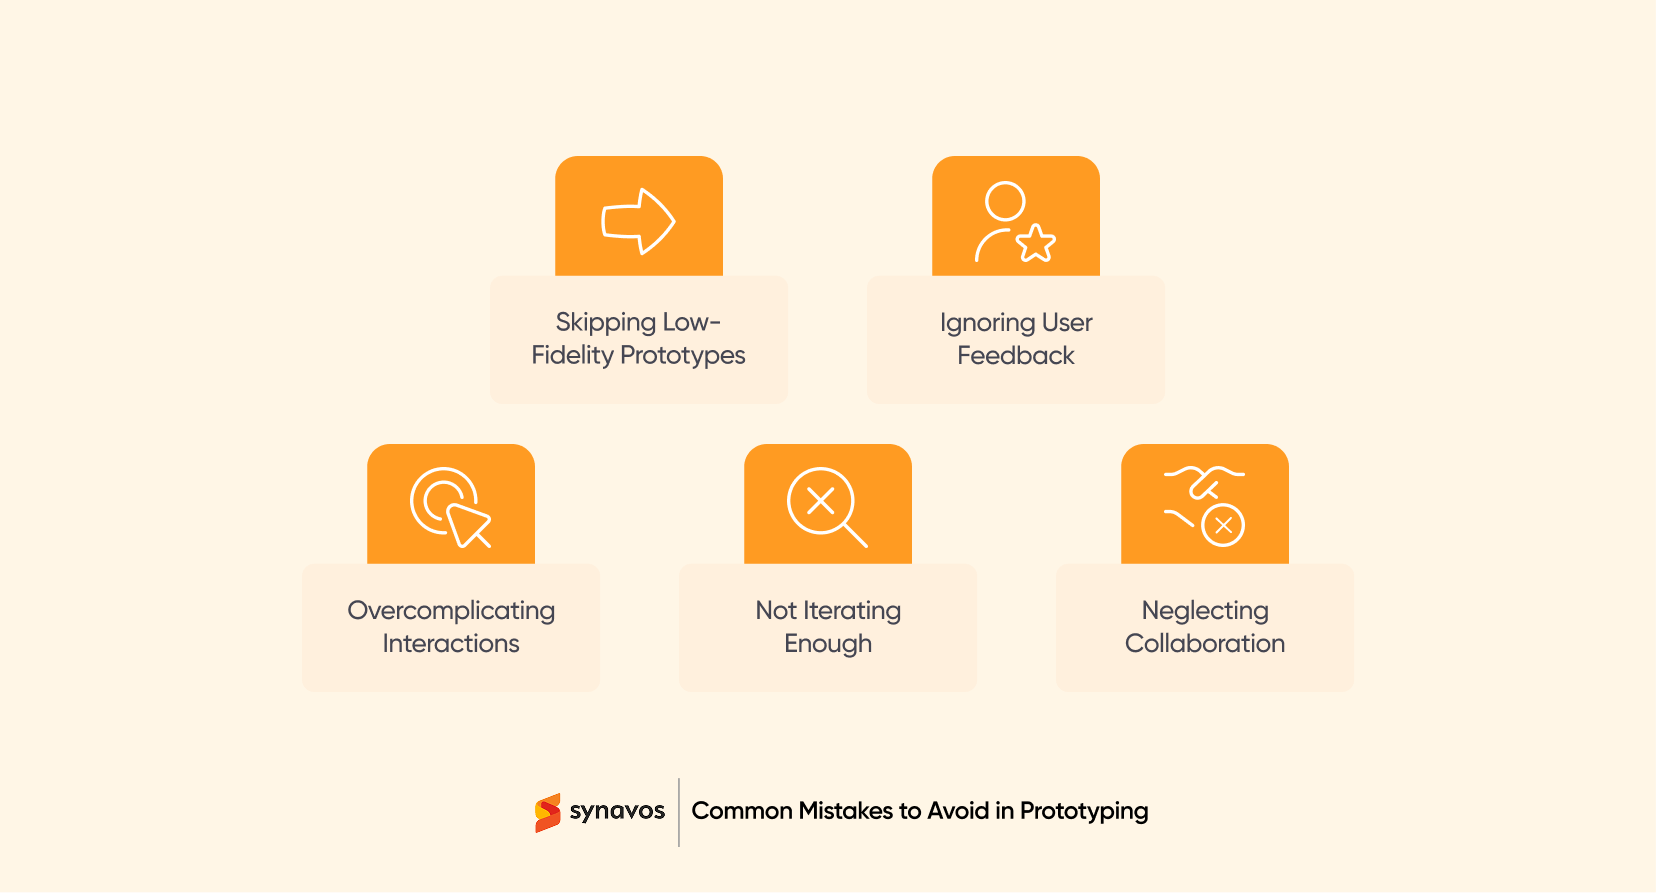
Common Mistakes to Avoid in Prototyping
Even the best teams can stumble when prototyping if they don’t pay attention to common pitfalls. Being aware of these mistakes helps you save time, avoid frustration, and get better results.
-
Skipping Low-Fidelity Prototypes
Jumping straight to high-fidelity prototypes can slow down the process and hide potential problems. Starting with simple sketches or wireframes allows you to explore multiple ideas quickly, test assumptions early, and make changes before significant resources are invested. Low-fidelity prototypes also encourage experimentation and creativity, letting teams explore options that might otherwise be overlooked.
-
Ignoring User Feedback
A prototype only serves its purpose if it’s tested with real users. Overlooking feedback can lead to a product that looks good on paper but fails in practice. By regularly gathering user insights, you ensure your design decisions are grounded in reality. Listening closely to users often reveals subtle pain points that internal teams might never notice, helping you design solutions that truly meet their needs.
-
Overcomplicating Interactions
Adding too many features or complex interactions too early can distract from the core user flows. Focus on the essential tasks first and refine details later. Keeping prototypes simple helps teams identify usability issues without unnecessary noise. Overcomplicated prototypes can also confuse testers, making it harder to interpret feedback accurately.
-
Not Iterating Enough
Prototyping is an iterative process. Rarely will the first version be perfect. Failing to test, refine, and repeat can result in costly mistakes during development. Iteration lets you gradually improve the product and make informed design decisions. Each cycle of iteration also builds confidence in the solution, reducing uncertainty before development begins.
-
Neglecting Collaboration
Working in isolation limits perspective and slows progress. Involving designers, developers, and stakeholders early ensures alignment, fosters better problem-solving, and creates shared ownership of the product. Collaboration also encourages constructive debate and can uncover better approaches that no single person might have thought of on their own.
Wrapping Up
Prototyping is your chance to bring ideas to life, test them, and refine them before investing in full development. By choosing the right type of prototype, using effective tools, and following best practices, you can create designs that truly meet user needs and business goals.
Start integrating prototyping into your design workflow today and watch how it transforms your design process. You’ll spot potential issues earlier, gather actionable feedback faster, and make informed decisions that improve both the user experience and your product’s success.
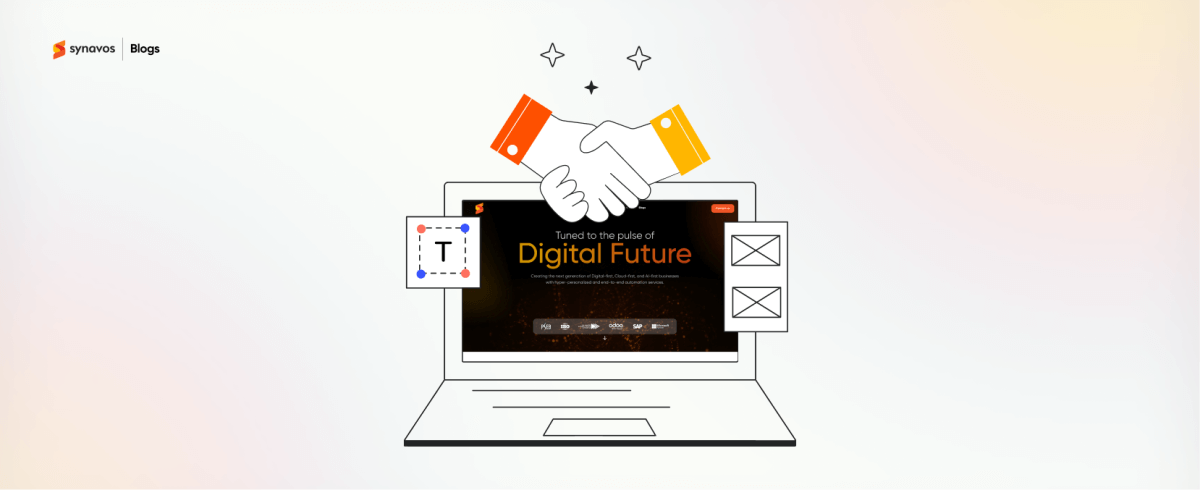
Bring Your Digital Product Ideas to Life with Synavos
At Synavos, we help you transform ideas into digital products that users love. Our team combines design expertise, intuitive user experiences, and smart prototyping methods to ensure your product delivers real value and meets your business objectives.
Check out our portfolio to see how we create products that not only look great but perform seamlessly and stand out in the market.
Ready to get started? Contact us today to discuss your project.